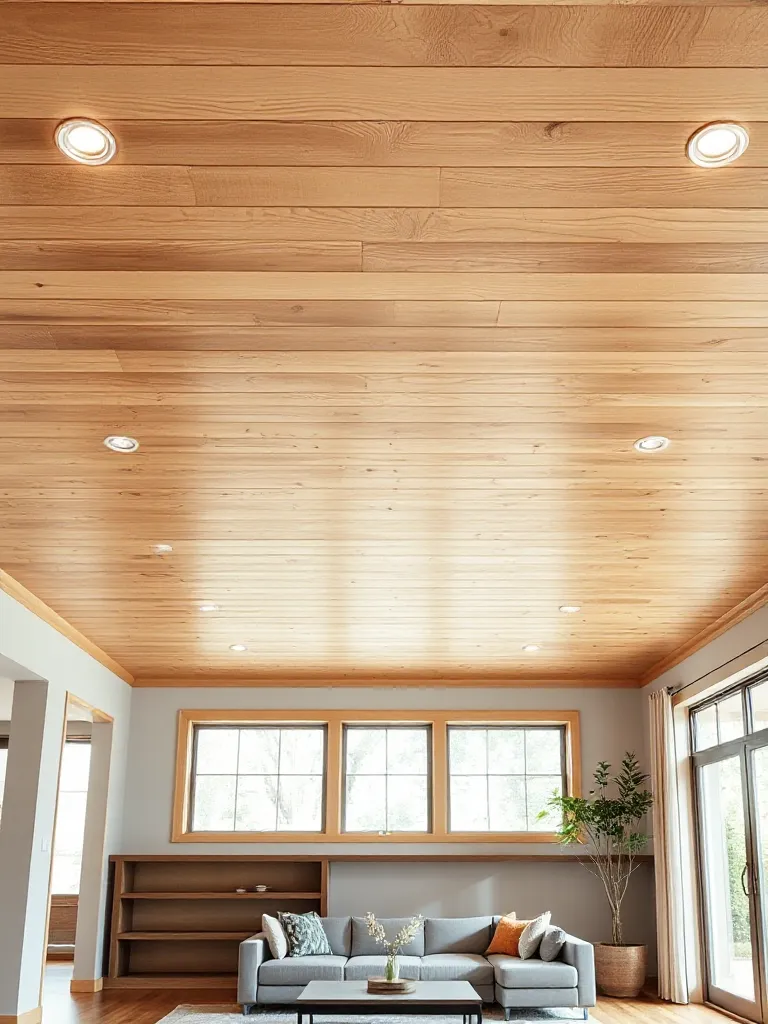
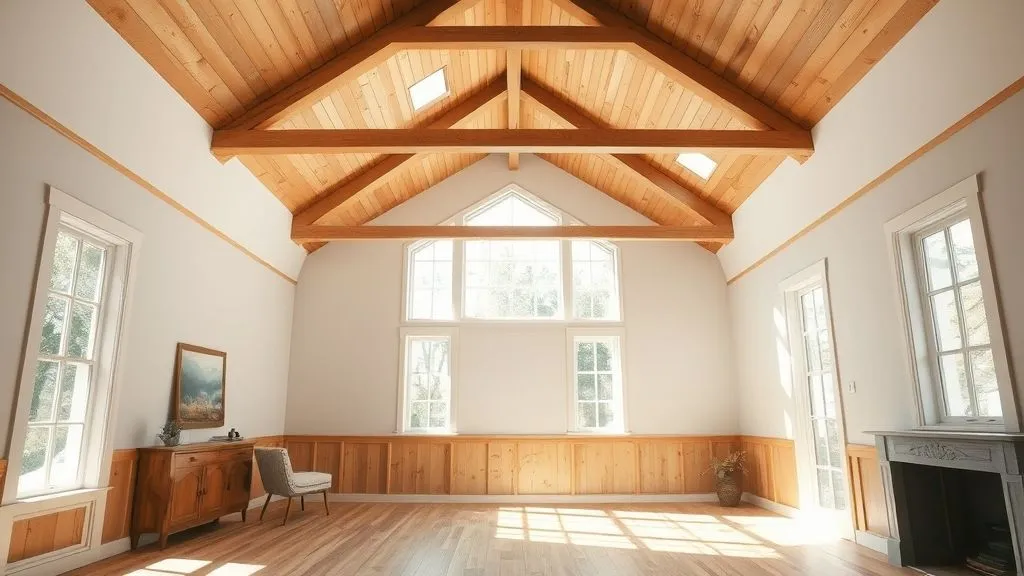
Easy Tongue and Groove Ceiling Installation Explained
Imagine transforming a plain room into a warm and inviting space with just one weekend project! A tongue and groove ceiling not only enhances your home’s aesthetic appeal but also adds lasting value and charm. Whether you’re a seasoned DIY enthusiast or a beginner, this guide will walk you through every step of the installation process, ensuring you achieve stunning results with ease.
By the end of this article, you’ll have all the knowledge and confidence needed to tackle this rewarding home improvement project. Let’s dive in!
Table of Contents
What is a Tongue and Groove Ceiling?
A Brief Introduction
A tongue and groove ceiling consists of planks designed to fit together seamlessly. Each plank has a “tongue” on one edge and a “groove” on the other, allowing them to interlock tightly. This design creates a beautiful, uniform surface that is both practical and visually appealing. Originally popular in rustic and farmhouse interiors, tongue and groove ceilings are now a favorite for modern and traditional spaces alike.
Benefits of Tongue and Groove Ceilings
- Aesthetic Appeal: Adds character and warmth to any room.
- Ease of Installation: Designed for straightforward assembly, even for beginners.
- Durability: Resists wear and maintains its look for years.
- Versatility: Suitable for kitchens, living rooms, porches, and more.
- Soundproofing: Reduces noise, making it a great option for upper floors.
Additionally, these ceilings can help cover imperfections in the original ceiling while adding a layer of insulation. This combination of form and function makes them a top choice for homeowners seeking a simple yet impactful upgrade.

Tools and Materials Needed
A Comprehensive Checklist
Materials:
- Tongue and groove planks (measure your ceiling for accurate quantity)
- Nails or screws
- Wood glue (optional)
- Paint or stain (if finishing)
- Furring strips (if the ceiling requires leveling)
Tools:
- Measuring tape and level
- Saw (manual or power saw)
- Hammer or nail gun
- Sandpaper or sander
- Ladder or scaffolding
- Chalk line
Quick Tip:
Purchase 10% more planks than needed to account for cuts or errors. This ensures you won’t need to pause mid-project to get additional materials.
Preparing for Installation
Measure and Plan
- Take precise measurements of your ceiling’s dimensions.
- Mark the location of ceiling joists, as these will provide the foundation for securing your planks.
- Decide on the orientation of the planks (parallel or perpendicular to joists).
- Use a chalk line to ensure straight alignment.
Prepare the Planks
- Sand the planks to smooth any rough edges.
- Apply paint, stain, or sealant if desired, ensuring each plank is dry before installation.
- Allow wood to acclimate to your home’s humidity for 48 hours before installation to prevent warping.
Safety Reminder:
Always wear protective gear while sanding or cutting wood to protect your eyes and lungs. Ensure proper ventilation in your workspace to avoid inhaling sawdust or fumes from paint and sealant.
Step-by-Step Installation Process
Step 1: Mark the Ceiling
- Use a pencil and level to mark the joists on the ceiling.
- Ensure the marks are straight to guide plank alignment.
Step 2: Install Furring Strips (if needed)
- Attach furring strips perpendicular to the joists to create a flat surface for the planks.
- Space the strips 12-16 inches apart for optimal support.
- Secure them with nails or screws.
Step 3: Start with the First Plank
- Position the first plank with the tongue facing out.
- Nail the plank into the joists or furring strips, ensuring it is level and secure.
- Use spacers to maintain even gaps along the edges if needed.
Step 4: Add Additional Planks
- Fit the tongue of the next plank into the groove of the first plank.
- Tap gently with a rubber mallet if necessary to ensure a snug fit.
- Secure each plank with nails or screws, driving them at an angle into the tongue to hide them.
Step 5: Handle Obstructions
- Measure and cut planks to fit around light fixtures, vents, or other ceiling obstructions.
- Use a jigsaw for precise cuts.
Step 6: Finish Edges and Final Plank
- Trim planks to fit around edges and corners.
- Apply wood glue for the final plank if nailing is difficult due to tight spaces.
- Conceal gaps with trim or molding for a polished look.
Finishing Touches
Seal the Ceiling
- Apply a protective sealant to prevent moisture damage and enhance durability.
Paint or Stain for Aesthetic Appeal
- Choose a color or finish that complements your room’s design.
- Consider a whitewash or natural stain for a rustic look or a solid color for a contemporary style.
Add Lighting and Decor
- Install light fixtures or ceiling fans to enhance the room’s functionality and ambiance.
- Use complementary decor elements to tie the ceiling design into the overall theme of the space.
Common Mistakes to Avoid
- Skipping Preparation: Failing to sand or acclimate planks can lead to uneven surfaces or warping.
- Incorrect Measurements: Always double-check dimensions to prevent material shortages.
- Over-Nailing: This can damage the planks and affect the ceiling’s appearance.
- Ignoring Safety: Use proper equipment and follow safety protocols to avoid injuries.
Tongue and Groove Ceiling Installation FAQs
What type of wood is best for tongue and groove ceilings?
Common choices include pine, cedar, and hardwoods like oak. Each offers a unique look and level of durability. Cedar is particularly popular for its natural resistance to moisture and insects.
Can I install a tongue and groove ceiling over popcorn ceilings?
Yes, but you must prepare the surface by scraping or adding furring strips for a flat base. This ensures a smooth and stable installation.
How long does it take to install a tongue and groove ceiling?
Typically, it takes one to two days, depending on room size and your experience level. Proper preparation can significantly reduce installation time.
Can tongue and groove ceilings be installed in bathrooms?
Yes, but choose moisture-resistant materials like cedar and ensure proper sealing to prevent water damage. Adding ventilation in the bathroom can further protect the ceiling.
How do I maintain a tongue and groove ceiling?
Regular dusting and occasional cleaning with a damp cloth are usually sufficient. Reapply sealant every few years for long-term durability.
Conclusion: Elevate Your Home with Ease
Installing a tongue and groove ceiling is a rewarding DIY project that can transform any space. With the right tools, materials, and guidance, you can create a stunning ceiling that blends beauty and functionality. So grab your tools and start upgrading your home today!
Example Materials List for a 10×10 Ceiling
| Material | Quantity Needed |
| Tongue and groove planks | 120 sq. ft. |
| Nails or screws | 100-150 |
| Wood glue (optional) | 1 bottle |
| Paint or stain | 1 gallon |

